In these series we will create a lab with multiple components, a jumphost, vcsa, esxi, a vsan enabled cluster, nsx and maybe more. The aim of the series is to learn about deploying all components onto the Ravello cloud.
Part 1: Creating the Jumphost
Part one of the series will be about creating the jumphost. I’m looking at a linux system as we do not need any license to run it and it is already available in Ravello
Creating the Ravello Application
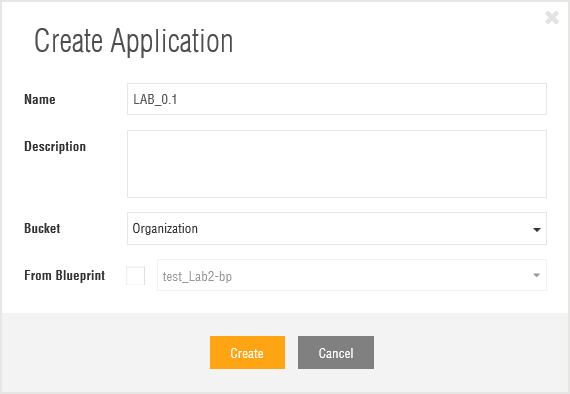
The first step is to create an application. We will create a 0.1 version of the LAB:
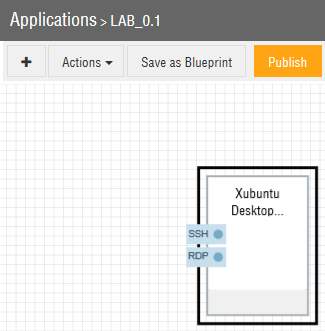
Creating the Jumphost VM in the Application
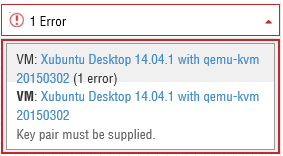
Drag a ‘Xubuntu Desktop 14.04.1 with qemu-kvm pre-installed’ onto the Canvas. Once the VM has been dragged onto the Canvas, there will be an error: ‘Key pair must be supplied’
You can see that the error has its source on the General tab. To correct this a Key Pair must be created.
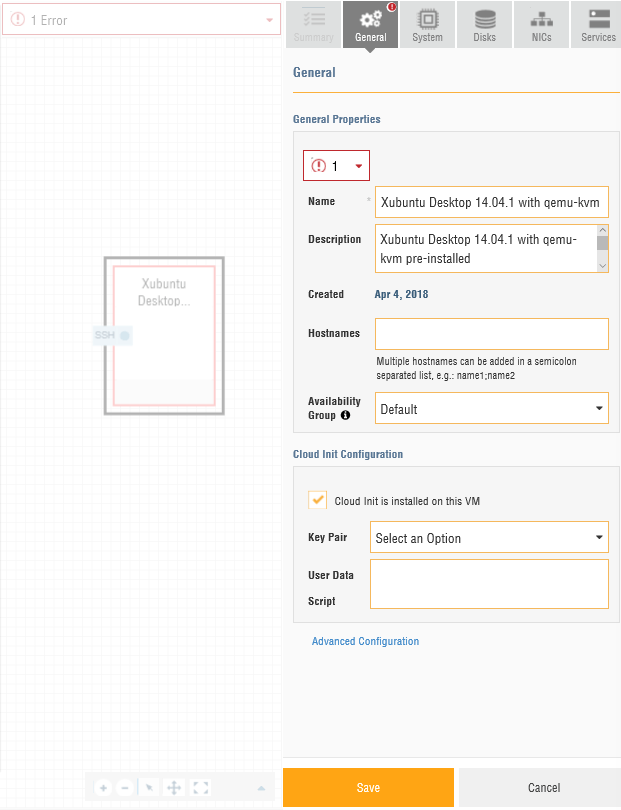
On the General tab – Cloud Init Configuration – Key Pair
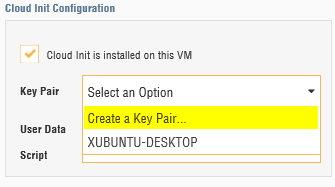
Select the Option: Create a Key Pair
In the following screenshot you can see that I already created a Key Pair
Once created, the private key will be available for download. To be able to use the private key with a ssh session from putty, you will need to convert the key.pem to key.ppk. Open puttygen and load the key.pem file and save the file as key.ppk.
Now that we have created our key pair we can save the VM and the error should disappear.
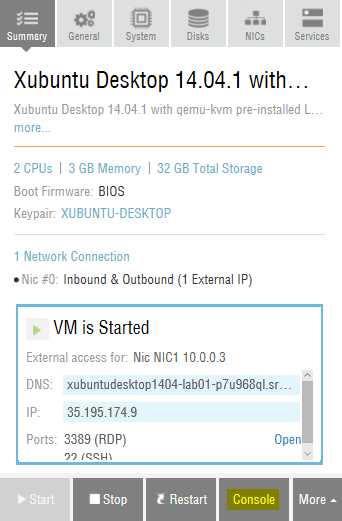
On the System tab, change the # CPU to 2 and the memory to 3 GB.
On the Disks and NICs tab we leave everything as is.
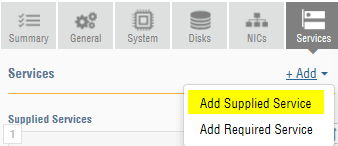
On the Services tab, Add Supplied Service. We will use this Service to connect to the VM via RDP.
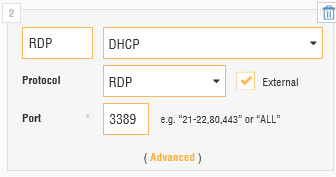
A second service will be added. I changed the name to RDP and chose protocol RDP which sets the Port to 3389.
We are ready to publish the application:
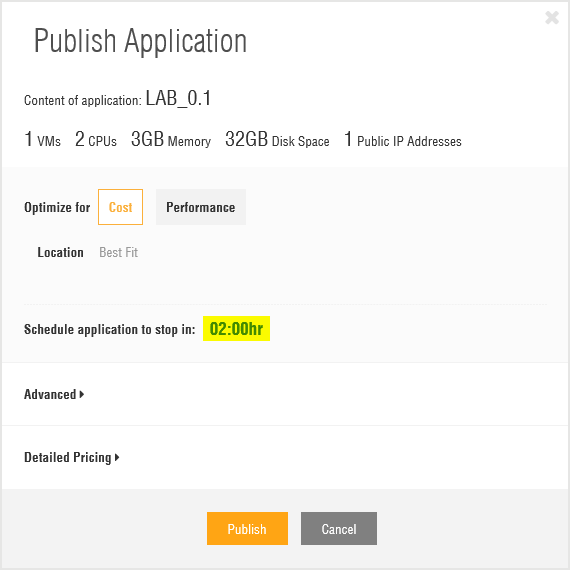
Change the ‘Schedule application to stop in:’ countdown timer to ‘04:00hr’. This will give us the time to update and change the VM to our needs.
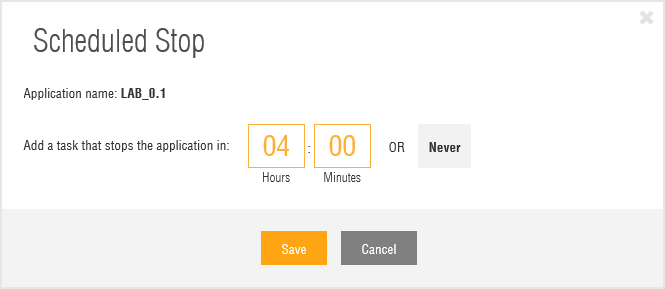
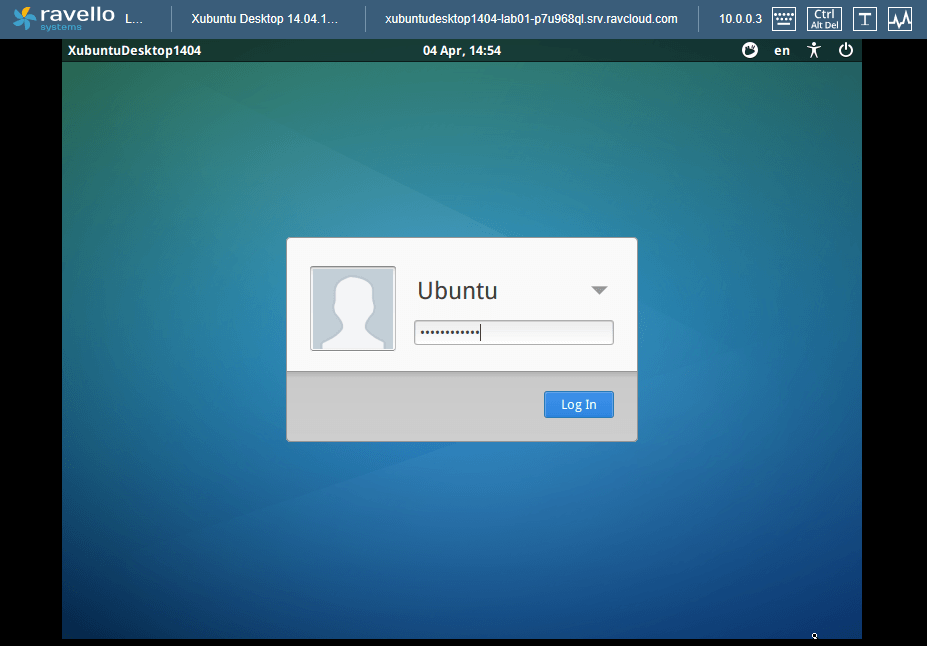
Publish will power on the VM. When Powered on we will have access to the Console. Powering on the VM takes a couple of minutes.
Customizing the Jumphost VM
Upgrades
The Console will open in a new tab. The initial password for this VM is ‘ravelloCloud’.
The first thing we will do is upgrade the VM to the latest release available. Open the ‘Byobu Terminal’.
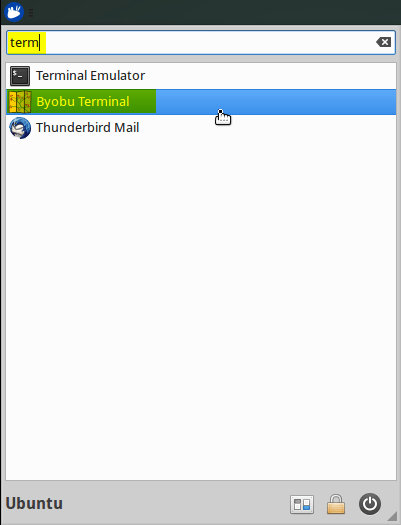
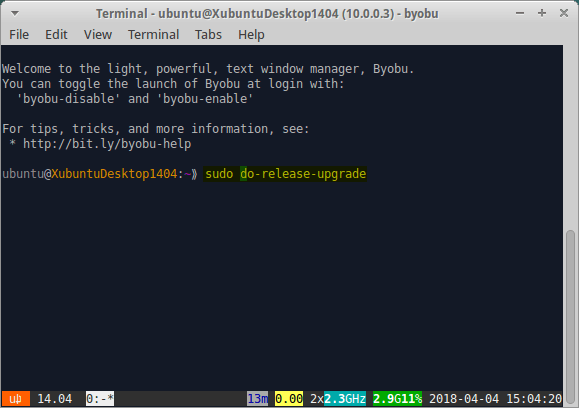
Run the command ‘sudo apt-get update && sudo apt-get upgrade’ and confirm you want to upgrade all proposed packages. I tried do-release-upgrade first, which failed because of an apt dependency.
sudo apt-get update && sudo apt-get upgrade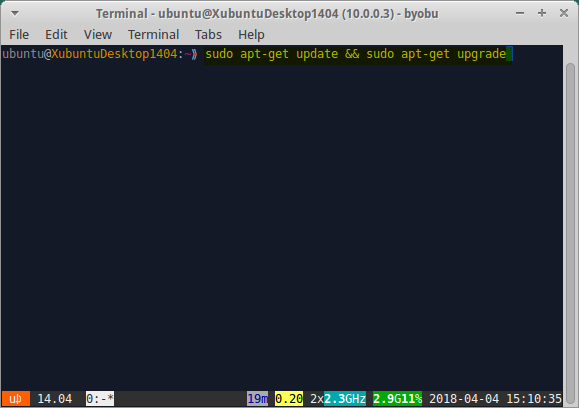
Now we are ready to upgrade to the latest release. Confirm to all new version configuration files from the package maintainer. In the end all obsolete packages can be removed and reboot when finished.
Run the command ‘sudo apt-get dist-upgrade’ and confirm you want to upgrade all proposed packages. Now your system will be fully up-to-date.
XRDP 0.9.x
Install xrdp 0.9.x so that we can connect via RDP. This will be a more pleasant way of working.
We will add a PPA (Personal Package Archive) to add the package source location to the /etc/apt/sources.list file. This will enable updates through the apt update process. We will install the latest version of xrpd from this location. At the time of writing the version integrated is in the ubuntu sources is 0.6.x. The latest stable version has quite some enhancements like shared clipboard support.
sudo add-apt-repository ppa:hermlnx/xrdp
sudo apt-get update
sudo apt-get install xrdp
xrdp -vThe version installed at the time of writing is 0.9.4

Create xsession file with contents xfce4-session. The latest xrdp version should be detecting the desktop environment by default but in my case it did’t and wouldn’t work without the following xsession file.
cd $HOME
echo xfce4-session > ~/.xsessionGenerate new certificate and key
openssl req -x509 -newkey rsa:2048 -nodes -keyout key.pem -out cert.pem -days 365Update XRDP to use the new certificates
cd /etc/xrdp
sudo vi xrdp.iniChange the following lines to use the certificate and key generated
certificate=/home/ubuntu/cert.pem
key_file=/home/ubuntu/key.pemChange wrapper.config
cd /etc/X11/
sudo vi wrapper.configChange the following line
allowed_users=anybodyReboot the VM
Now you can access the VM through RDP. You will need to confirm the self-signed cert as it has not been signed by a trusted root CA.
Powershell Core
Import the public repository GPG keys
curl https://packages.microsoft.com/keys/microsoft.asc | sudo apt-key add -Register the Microsoft Ubuntu repository
curl https://packages.microsoft.com/config/ubuntu/16.04/prod.list | sudo tee /etc/apt/sources.list.d/microsoft.listUpdate the list of products
sudo apt-get updateInstall PowerShell
sudo apt-get install -y powershellStart PowerShell
pwshPowerCLI 10
Install the PowerCLI module from the PowerShell Gallery
Install-Module -Name VMware.PowerCLI -scope CurrentUserVerify PowerCLI version
Get-PowerCLIVersionOPTIONAL: Opt-out from the Customer Experience Improvement Program (CEIP)
Set-PowerCLIConfiguration -scope user -ParticipateCeip $falseOPTIONAL: Do not display the warning about using self-signed certificates
Set-PowerCLIConfiguration -InvalidCertificateAction IgnoreOPTIONAL: Visual Studio Code
Installing Microsoft Visual Studio Code can be usefull for creating scripts that will/could be used within the environment.
curl https://packages.microsoft.com/keys/microsoft.asc | gpg --dearmor > microsoft.gpg
sudo mv microsoft.gpg /etc/apt/trusted.gpg.d/microsoft.gpg sudo sh -c 'echo "deb [arch=amd64] https://packages.microsoft.com/repos/vscode stable main" > /etc/apt/sources.list.d/vscode.list'
sudo apt-get update
sudo apt-get install code # or code-insidersThe next parts will be setting up the ESXi machines and VCSA.
Many thanks to:
- Dale Scriven – http://vhorizon.co.uk/using-ravello-cloud-for-the-bandwidth-embarrassed/
- Roman Dodin (@ntdvps) – https://netdevops.me/2017/installing-xrdp-0.9.1-on-ubuntu-16.04-xenial/
- Microsoft – https://docs.microsoft.com/en-us/powershell/scripting/setup/installing-powershell-core-on-macos-and-linux?view=powershell-6#ubuntu-1604
- Microsoft – https://code.visualstudio.com/docs/setup/linux
- Ravello for providing the vExpert Free Service Account – https://cloud.ravellosystems.com