Today I was playing around with vSphere with Tanzu. I want to consume vSphere with Tanzu and...

Today I was playing around with vSphere with Tanzu. I want to consume vSphere with Tanzu and...
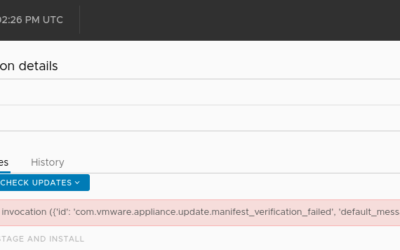
Today I deployed a new VCSA 7 U1 and as U2 has GA'd recently I wanted to update the environment...
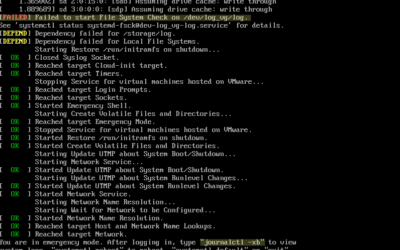
Where do I start troubleshooting?journalctl -xbFile System CheckOther volumesRebootRemark Due to a...
When you connect to your ESXi host and you launch esxtop. You look at the esxtop output and it is...
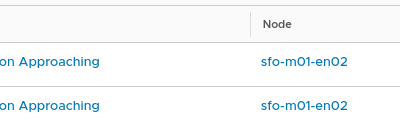
The challenge I have a couple of NSX-T environments in my home lab. I logged on to one of them and...

This post is not as a end-to-end upgrade guide but a methodology guide. Everything is more or less...

Sometimes you want/need use iPerf to test the nic speed between two ESXi hosts. I did because I...

I have been working on a script to deploy environments on a regular basis in my homelab. While I...

Step 1 : Running the jarStep 2 : ConfigurationStep 3 : MigrationIssuesStorage vMotion?Target...

What does the VMware User Group means to me? Well it is already more than a decade ago since I...