If you've ever enabled Workload Management in vSphere with Tanzu and later removed the Supervisor...

If you've ever enabled Workload Management in vSphere with Tanzu and later removed the Supervisor...
While going through the latest lab upgrade round, I found myself running into an error when...
Are you tired of constantly typing the password when executing cell-management-tool commands on...

To be honest, I have been complaining somewhat over the last year, or so, about the NSX Advanced...

Are you setting up TrueSSO? Are you looking to use signed certificates to secure the communication...

A client of mine was looking on how to update the maximum failed OS login attempts because they...

Deleting the datastore where a content library is hosted is probably not the best idea but ... yes...

Some time ago we were having issues in the Tanzu PoC class for partners we were teaching. One of...
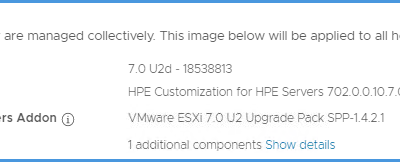
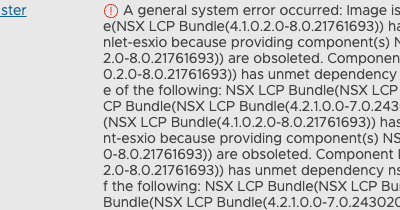
I recently experienced an issue within a HPE environment where vSphere Lifecycle Management (vLCM)...
INTRO Lately, I have been doing quite some work on VMware vSphere with Tanzu. A prerequisite to...